Tuesday, October 16, 2012

Printing A Lathe - Files and Information

I received a request for the Mini Lathe plate files.  I've copied them to my Google Drive and have posted the info and links below.  In fact, I think I should list once again where I got the designs from in the first place.

The Mini Lathe I'm printing is on Thingiverse.  The title of the design is Mini printable lathe V2 + Chuck - OpenSCAD version by Daid, and the link to the Thingiverse page is here:  http://www.thingiverse.com/thing:12472

The 3-Jaw Chuck I'm printing is from Sublime, and it is hosted on GitHub here:  https://github.com/Intrinsically-Sublime/Longworth-chuck

I downloaded the assemble.scad.stl file from the lathe page on Thingiverse and the Three_jaw_chuck.stl file from GitHub, and imported the solid bodies into SketchUp (deleting the chuck that came with the lathe_assembly_.stl and replacing it with the 3-jaw chuck from GitHub), and this is how the full assembly looks in SketchUp:

Lathe Assembly from Daid with 3-Jaw Chuck From Sublime

I then divided the parts up into plates that fit into a 18cm x 13cm build area (for several not so great reasons this was my maximum build area at the time).  It took three plates to cover the parts for the 3-Jaw chuck, and five plates for the lathe itself.  I did include extra copies of several of the gears and smaller parts where there was open space (if the printer is going to run overnight or during work, might as well have it make replacement parts).

The five lathe .stl plate files look like this:

Lathe Print Plate 1 of 5

Lathe Print Plate 2 of 5

Lathe Print Plate 3 of 5

Lathe Print Plate 4 of 5

Lathe Print Plate 5 of 5
 
The SketchUp and .stl files can be downloaded here:  https://docs.google.com/folder/d/0BzlyGd7meNzeWmcyUVpOVENyUTA/edit

Two of the parts for the 3-jaw chuck did not print properly.  After looking at the .stl files in netfabb, it appears that there were some issues with some of the surfaces.  I am going back to reconstruct/fix those in SketchUp now.  Once I have those corrected, I will try to upload the plates I constructed to print the chuck as well.

After printing those last couple of parts it's on to assembly :)

D

Tuesday, October 9, 2012

Printing A Lathe - Only 2 . . . 1 . . . 0 Plates To Go!

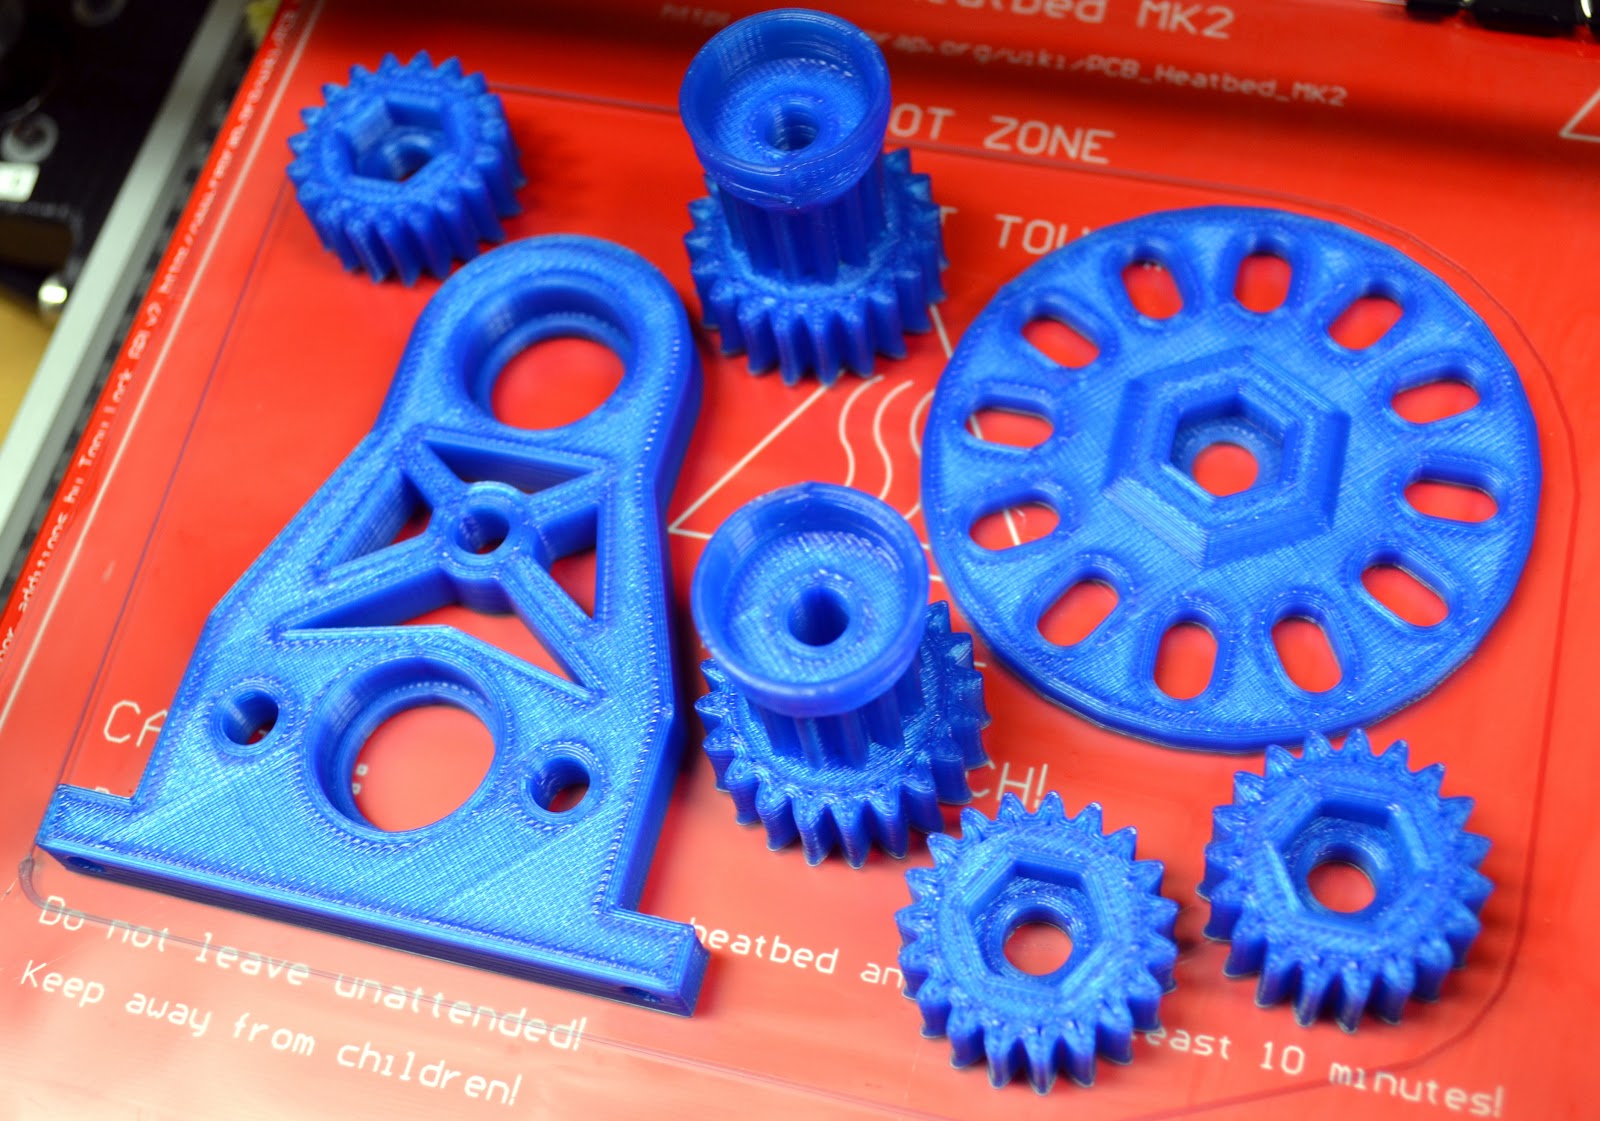
At the time of the post last night I had completed 3 of the 5 mini lathe print plates, and the printer was working on a fourth.  This morning I was greeted with a print bed full of good parts:

Plate 3 of 5 for Mini Lathe Print

And a closeup:

Plate 3 of 5 for Mini Lathe Print, Detail

What's more, these parts popped off of the glass relatively easily.  To prep the glass for the previous plate (where the parts had adhered almost too well) I had applied the diluted PVA mixture to the glass and used a fan to dry it, and the glass had set overnight before I printed.  

For the parts shown above (and a few prints since then), I applied the diluted PVA mixture to the glass while it was sitting on the heated build plate and warming up to the target 85 C or so that I've been using.  Basically as soon as the coating dried I started printing.

For a few prints now that strategy has resulted in parts that stuck well during printing but that also popped off pretty easily.  I may have ironed out the last wrinkle in my method for using diluted PVA to get PLA to adhere.

So that left only plate 4 of 5 to print.  I took about 15 minutes this morning to get it started before I headed to work, confident that using diluted PVA on the heated glass was going to perform once more, and it did!  Here are the prints from the last plate:

Plate 4 of 5 for Mini Lathe Print

You can see in the picture that there are some issues with the holes in the large part in the lower right corner. It looked like the printer had tried to bridge across the holes and failed.  Going back and looking at the G-code viewer in Pronterface, that is in fact what happened.  

For some reason, Slic3r put a single layer over the top of the holes on that surface of the one large part, and I did not catch that until after I saw the completed print.  Not a big issue in this case, but another reminder to review the sliced models and compare them to the .stl's or the geometry of the model you are printing from.

Failed Bridge on Top Layer of Large Part

Except for two pieces that I need to reprint for the 3-jaw chuck, I now have everything printed out for the mini lathe.  Next step is to assemble the various vitamins (nuts, threaded rod, smooth rod, bearings, screws, etc.) and get down to assembly.  Still lots of work to do, but I decided to take a break from the lathe for tonight's overnight print and make something that I could put on my desk at work and show off (hopefully :) ).  Right now the printer is working on this spiral cup from MakeALot over on Thingiverse:  http://www.thingiverse.com/thing:6917

Spiral Cup from MakeALot via Thingiverse.com

So far so good on the first few layers, interested to see what greets me in the morning . . . 

D

Printing A Lathe - Only 3 Plates To Go

So, I did finally have success with the blue PLA.  I ended up using PVA glue (Elmer's Glue-All) diluted 1:8 in water on a piece of glass over a heated bed (see the previous post).  When I got up this morning plate 2 of 5 had completed printing, and seeing finished parts out of the blue PLA was very satisfying.

Plate 2 of 5 in the Mini Lathe Build

Completed Print of Plate 2 of 5

The parts were difficult to remove from the glass covered in PVA glue.  I ended up using a metal wedge I had with a razor edge (an old piece of lab equipment, I think for slicing thin layers of tissue) and was able to pry them off without a huge amount of effort.  It was not ideal though, and I think I would have had more success heating the bed and glass back up to 85 C or so before trying to pry the parts loose.  I will try that with the next print.

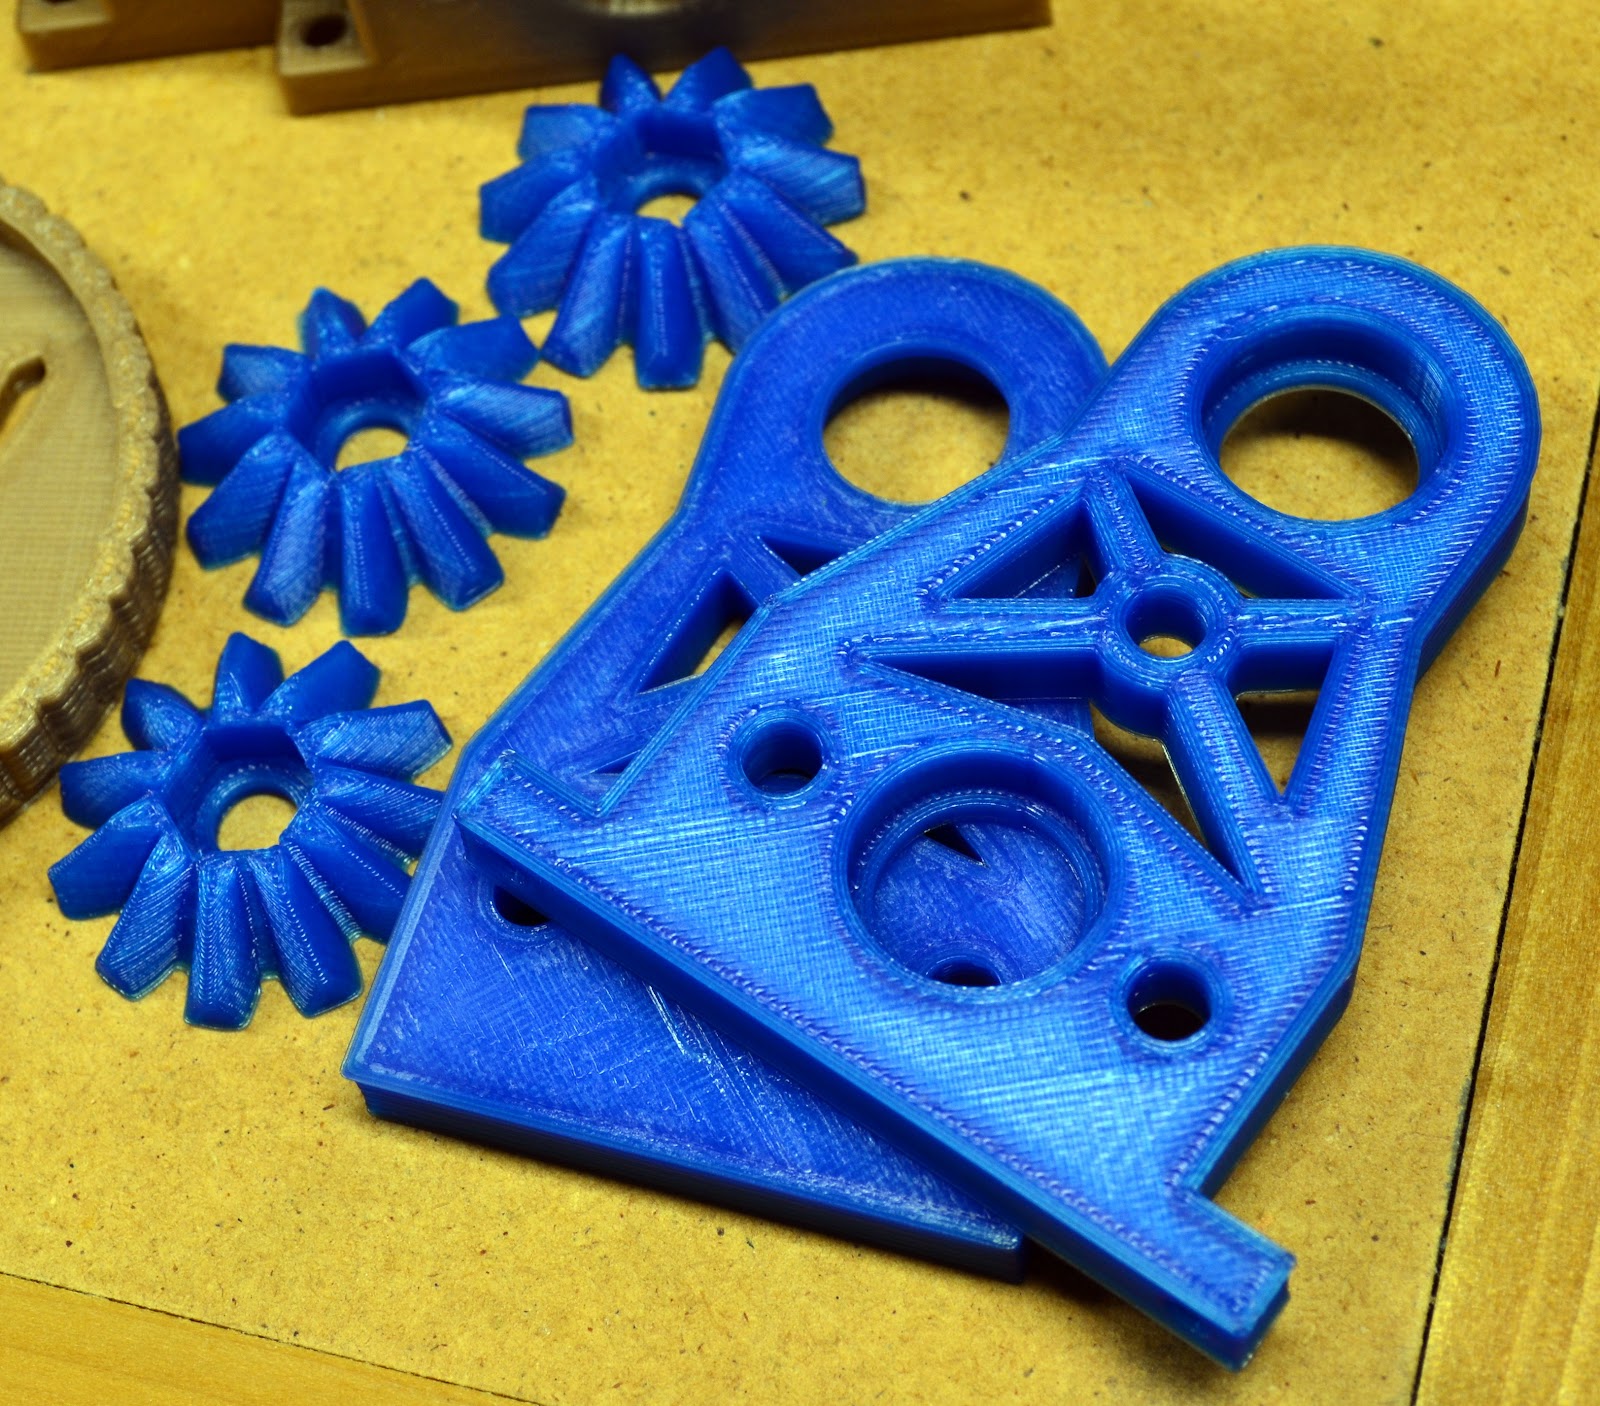
Here is a pic from a better camera (the image above was from my Galaxy Note) showing the blue parts from last night's print.  The blue PLA does look very cool (blue is my favorite color, so that helps).  The gold is also nice, but after a couple of months I was starting to get tired of it.  I have a spool of green still in the box that I haven't even opened yet.

Plate 2 of 5 of Mini Lathe Print in Blue PLA

Plate 4 of 5 is now printing (saving 3 of 5 for last I guess), and it also appears to be adhering well.  Here are a couple of shots of the first layer perimeters going down.

Plate 4 of 5 of Mini Lathe Print, Bottom Layer


Plate 4 of 5 of Mini Lathe Print, Bottom Layer Image 2

As you can see, I'm really squishing the first layer of plastic onto the glass plate.  The small flange that this forms around the bottom of the part does not seem like a big issue for these parts, so I'll take that small imperfection in order to be sure that nothing is going to come loose during the print.

I'm going to let the plate 4 print run overnight, and I have another piece of glass waiting to place on the printer tomorrow morning to start plate 3 of 5--the last plate to print--before I head to work.  It is so satisfying to be back where I can start a print and let it run without worrying about parts coming loose again. Really makes all the difference in the world in terms of output, since I can only spend a couple of hours at a time actually monitoring the printer.

One other note about using the PVA mixture--it did leave a milky white film and some white material on the bottom of the parts.  I first tried a little rubbing alcohol to see if I could wipe it off, then decided to try a small torch for some heat.  That worked like a charm, and I plan to record and post a video showing the torch making the white film disappear the next time I use this method.

Overall, the PVA seems to be an acceptable solution for getting the parts to stick well going forward.  Removal of the parts from the glass after printing is the only thing I'm not happy about for now, but I will try to re-warm the plate and see what happens.

As I type the current print has finished several layers and all seems well.  Time for some sleep while my MendelMax works on through the night . . .

D

Monday, October 8, 2012

I'm Back . . . I Think

Just a quick post to say that I'm seeing good results with a 1:8 PVA:Water mixture on top of heated glass with the infamous (if only in my own mind) blue PLA.  I'm confident enough in what I've seen on the first three layers to let the print go for the next four hours while I sleep, and hopefully I will wake up to the first complete parts I've seen come off the printer in somewhere around a month!

More tomorrow night . . .

D

Sunday, September 30, 2012

PVA for PLA

I don't have time to get to my printer for the next week or so, but as soon as I can get back I'm definitely trying the diluted PVA on top of glass to get the PLA to stick.

I was having lunch with a friend Friday, whining about my problems getting the blue PLA to adhere, and he said (paraphrasing here), "Isn't there some kind of glue or coating you can put down on the surface to get it to stick?"  Doh!!  Suddenly all the posts I had read through that talk about using a PVA and water mixture seemed much more important, and I couldn't wait to get back to the forums and blogs and find out how to make my own dilutions and get back to printing.

I think I had dismissed those methods before because my experience with the gold PLA on glass over a HBP had been so positive.  The thought of having to do some secondary operation and paint on a coating of some type seemed like an unnecessary extra amount of work, so I had put those methods out of my mind while I tried to find the right combination of extruder and HBP temperatures to get the blue PLA to adhere.  After a few weeks of frustration, though, the idea of painting on a film of diluted PLA seems like a very small price to pay to get the new spool of PLA to stick without problems.

I picked up some PVA glue (Elmer's) at Wal-Mart a couple of days ago.  I went with the classic tube of white glue with the orange top (http://www.elmers.com/product/detail/E1322?filterPath=school).  They also were selling a spray-on product that seemed interesting (http://www.elmers.com/product/detail/E422?filterPath=craft).  I'm curious if anyone has tried this, since spraying on a coating of glue could be a very quick and easy way to prep the glass surface.

I've decided to first try a dilution of 1:8 PVA:water on a cooled glass surface.  I've seen posts about mixtures stronger than that resulting in the parts not coming off of the glass (without taking some of the glass with them, at least):  http://forums.reprap.org/read.php?262,141761,141761  I've also seen posts suggesting that using this ratio on a heated glass plate works well:  http://richrap.blogspot.com.au/2012/06/more-scrap-art-gearboxes-and-panelmax.html

I'm a little worried that the piece of glass I have is not very tough.  I got it out of a flatbed scanner that I was throwing away.  I will try the cooled glass coated in PVA mixture, and if that doesn't work I will first try to thicken the mixture.  If that still doesn't work I will use the coating over a heated build surface.  Either way, I have a plan with potential for success, and that's really all I need to stay excited about the next steps :)

D


Friday, September 28, 2012

Tangled Up In Blue PLA

After several hours of frustration trying to get the blue PLA I ordered from Amazon to stick to the heated build plate, I finally have started to figure this stuff out.

To those of you who have been 3D printing for a while, my solution may seem obvious, but I want to briefly explain how I came to the correct settings.  Hopefully, by doing this I will both 1) save other people new to 3D printing and RepRap's wasted time and trouble, and 2) remind myself to look out for similar behavior in the future and avoid getting stuck on the same issue.

I had run out of gold PLA, which was the first spool of material that I had ordered and run through my MendelMax 1.5 printer.  Here is a link to the gold PLA I ordered:  Gold PLA 3mm from Amazon.com

I was very satisfied with this material's performance (I didn't know any better anyway, it was my first spool of material), and free 2-day shipping with Amazon Prime is just too tempting.  So for my next spool of material I also ordered from Amazon.com, except I got blue material, and it was from a different supplier:  Blue PLA 3mm from Amazon.com

Here is a picture of the material over my machine:

Spool of Blue PLA Over My Machine

I knew I would probably need to adjust the extrusion temperature when I switched materials, so when I started to print with the blue PLA I used a method described on the calibration page of the RepRap.org site. The basic idea is to set the extruder temperature lower and lower and keep trying to extrude material.  When you reach a temperature low enough that the extruder cannot push material through the nozzle, increase the temperature by 5 degrees and that's the temperature to use for printing.

This method did now work for me.

I had been printing the gold PLA at around 161 C.  I think I did arrive at that temperature using the method described above, and I had good results with this material (barring some times when I had other settings messed up) for several weeks.  When I tried the same method with the new spool of blue PLA, I came out with a temperature almost 10 degrees lower.  As mentioned in previous posts, though, at this temperature the material was not sticking to the build plate.

I tried increasing the temperature of the extruder and build plate, sometimes together, sometimes separately, and I tried a range of temperatures for each from as low to as high as I thought might be reasonable.  I think I tried a build plate temperature from 50 C up to 80 C, and a material temp as low as 150 C and as high as 175 C.  I also kept cleaning the glass over and over, wondering if that had something to do with the failures.

At one point I thought I had it, and a print got through the first layer of a large plate of parts for the lathe I'm printing, but when I came back down after the print had gone through maybe 10% of the second layer, I found that some of the pieces had lifted off and stuck to the hot end, and this is what I pulled out of the machine:

Melted Glob From Parts Not Adhering to Build Plate

That was about a week ago, after over a full week of trying with no success.  Finally, this past Tuesday on a whim I decided to jack the temperatures way up, to 181 C on the extruder and 73 C on the HBP.  I was shocked to see how well it worked--I felt like I had come back off the DL just in time for the playoffs.

The 181 C came from posts I had read online about printing PLA around these temperatures.  It seemed like I was printing the gold PLA at a relatively low temperature compared to other people, so I really thought my machine just wasn't reading the temperature correctly.  I guessed the 161 C I had been using for gold was probably more like 175 C in reality, so going much higher than that would be a bad idea.  Also, I had used the method described above to find the optimum temperature, and that lead me to believe that the blue PLA should be printed at a temperature something like 30 degrees cooler than the 181 C that eventually worked.

The 73 C temperature on the HBP wasn't such a stretch, since I had noticed that up until this temperature range it did seem to help with the issues I had been having.  It just couldn't solve them completely without me also adjusting the extruder temperature.
 
Right now I'm printing Plate 2 from the Lathe prints, and it seems to be doing great is mostly doing great but there was some trouble in a few areas on the first layer--I will see if it can recover.

Printing Lathe Parts with Blue PLA

Seeing it run at 181 C, it's hard to imagine why I did not know to go to this high of a temperature before.  I was going on what I thought was a proven way of calculating optimal extrusion temperature, and it ended up causing me to not try high enough temperatures.

I also have been cleaning the glass with 91% Isopropyl Alcohol (rubbing alcohol).  This seems to be working well, although I have no real way to separate its effect from the other variables that I have been working with.

So, in summary, if you are having trouble with adhesion of the first layer, you should try higher temperature to see if that allows the material to bond more strongly with the surface of the glass you're printing on.  In the end, there are lots of variables that come into play, but at least you will give yourself a chance to reach a temp that works, even if it seems far outside of the range suggested by using the min possible extrusion temperature + 5 degrees.

D

PS - Sorry for the title, just couldn't help myself . . .


Monday, September 24, 2012

The Blog Is Not Dead . . .

Since the last post about a week ago, I've spent almost all of my time outside of work and family responsibilities working on two new design ideas.  3D printing has taken a temporary back seat, but I did try to get back into the lathe printing this afternoon.

One other thing that has kept me from printing as much this week is the continued difficulty I'm having getting the blue PLA to adhere to the heated build plate.  I've tried varying the first layer height (adjusting the end stop), adjusting the extrusion and HBP temperatures, and this afternoon I decided to print the first layer extremely slow--I think the setting was a speed factor for the first layer of 0.05.  That's crawling.

This very slow speed seemed to be doing the trick, but when I came back down to check on the print a few of the parts had lifted and the extruder had a huge glob of blue PLA on it . . . so I'm still in the dark here.  When I get some time I will hit the forums and take a closer look at the issue, but for now I need to tackle these two new projects I have going and move them along.

What's great about it all is that the 3D printer will soon become key to the further development of the two projects, so it all comes together in the end.  I'm very frustrated with the blue PLA troubles, but I'm very excited to know that I can build prototypes and try out my ideas as soon as I finish the initial designs.  Awesome :)

D